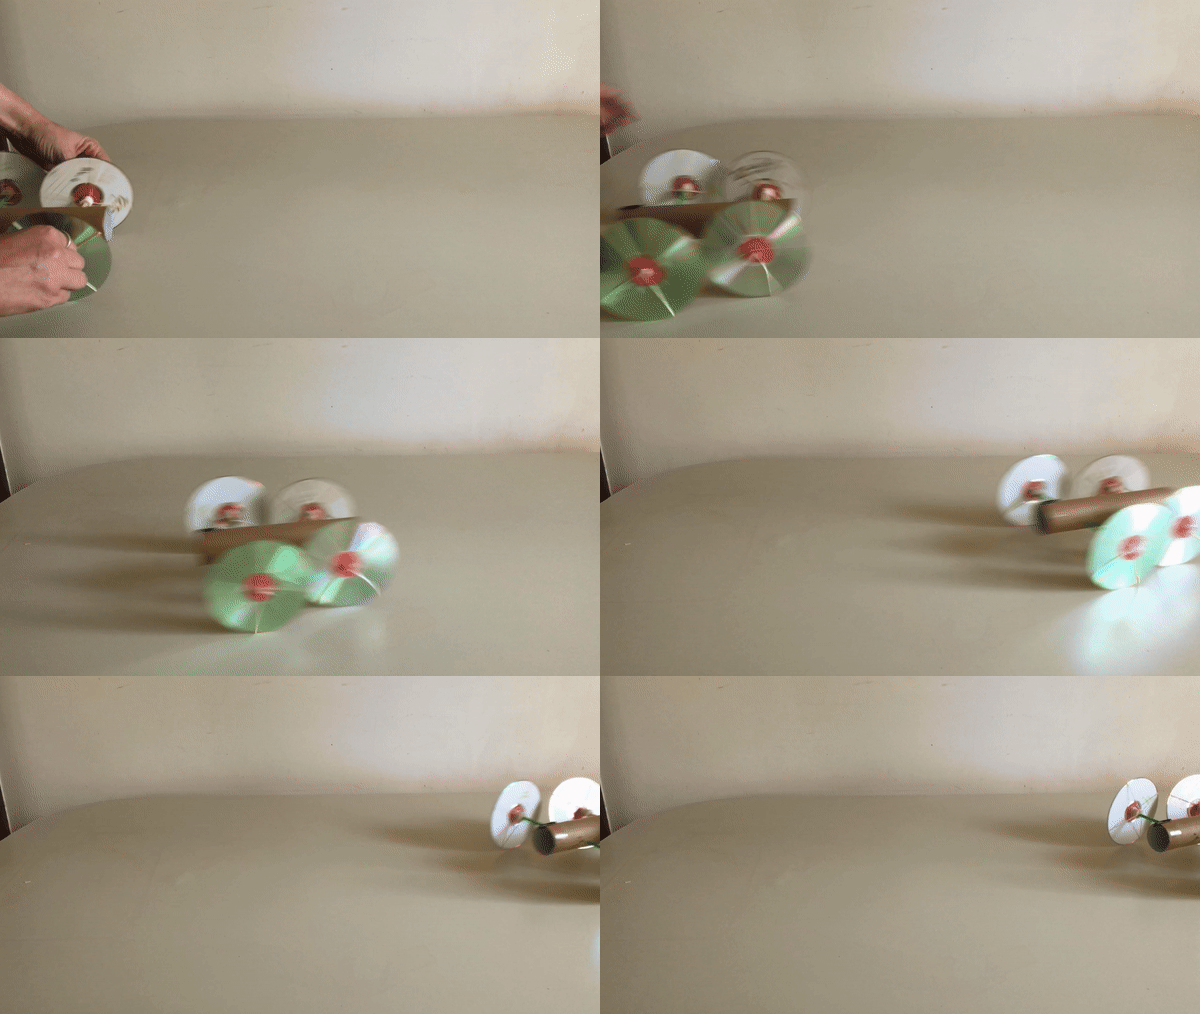
Use household materials to create a car that can actually go.
What you need:
- paper towel tube
- metal skewer
- 2x wooden skewers
- scissors
- 4x old CDs
- glue
- 4x wooden spools
- 4x buttons or small pieces of card/paper
- ~15x rubberbands
- 2x straws
- paperclip
What to do:
- Use the metal skewer to put a hole through the paper towel tube close to each end. The holes should line up.
- Cut one of the wooden skewers so it is about two-thirds its original length.
- Put the two wooden skewers through the holes in the tube.
- Glue a wooden spool onto the centre of each CD.
- Glue a button or piece or card/paper onto the other side of the CDs.
- Put two rubber bands cross-ways around each CD.
- Cut pieces of straw and thread them onto each end of the skewers.
- Thread the ends of the skewers through the wooden spools on the CDs and glue them into place.
- Make a chain of rubber bands by looping them and tying them to each other. The chain should be slightly shorter than the length of the paper towel tube.
- Loop the first rubber band around a skewer on the inside of the tube and tie it off. Then push the rubber band chain down through the tube and secure it at the end with a paperclip. Your car is finished!
- Twist the wheels that have the rubber band attached to them until it is very tight.
- Put the car down and watch it run by itself.
Troubleshooting – if your wheels just turn and the rubber bands aren’t twisting around the axle, try removing a rubber band so they are nice and tight.
Back to Home Science activities.

